
There is a lot of information out there about how easy and fantastic this is, and not a lot of contrary opinions. Most of the information that I could find discouraging the use of oven cleaner as a furniture stripper was related to environmental concerns. Specifically the fact that people are encouraged to just hose this off of the furniture in their driveway. Concerns are raised about where does that go, and what are you doing to the environment for the sake of furniture? Now in my opinion, if you are using this in your oven it either ends up down your drain or in the landfill anyway. So if you have environmental concerns about using oven cleaner, this is not a product you should be using in your home at all, even for its intended purpose, without further research into that. But that did not answer my questions about its safety as a furniture stripper.
Why I will NOT Be Doing the Easy Off Furniture Stripper Hack
What really raised the red flag for me was the point that oven cleaners are not designed to be used on porous surfaces, like wood. Ovens are non-porous surfaces - once the cleaner has done its job, you wash it out & you can be sure it has all been removed because it cannot soak into your oven.
I decided not to use oven cleaner to strip wood at all, given that it is not designed for or tested on porous surfaces. Even if you wash it all off, can you be sure that all the chemical has been removed from deep inside the pores of the wood? I do intend on sealing this piece, but I know a lot of people following this trend leave the piece unfinished, unsealed, raw - which can lead to potential off gassing of the oven cleaner chemicals in your home over time. Is that something you really want to risk happening in the air you breathe, around your kids?
Using a chemical cleaner outside of its tested & recommended purpose is not the best course of action, especially in your home and around kids and food, no matter what the influencers might be doing.

Stripping Wood the Easy & SAFE Way
Instead I will use a foaming finish remover that that been designed for use on wood. You can then go on to achieve the bleached, rustic look with other methods afterwards. It might be more work but ultimately I want to be conscious of the safety and the off gassing that might occur. Less work upfront does not negate doing a job safely & properly, in my opinion. If you have environmental concerns too, there are many eco-friendly finish removers available as well.
Materials you will need:
- Finish Remover
- something to protect your work area from overspray (drop cloth or large piece of cardboard)
- gloves
- nylon, brass & steel brushes
- rags
- sandpaper

I bought this HOME Finish Remover aerosol foam at Home Hardware. This particular product does not contain methylene chloride or sodium hydroxide, which are hazardous chemicals commonly found in other strippers and oven cleaners. It is water based and does say that is safe for both the environment & the user. Obviously I would recommend using a product like this outdoors, but as you can see it wasn’t an option for me given the weather lately, so do as I say and not as I do... I did ventilate well and lined my sink to protect it, as well as rinsed out the overspray before letting the product sit on the spoon rack.

Now I am not sure if this is a defective nozzle but I do have issues with how thinly & powerfully the product sprays from the can. It’s fairly intense and definitely causes a lot of overspray. I applied a uniform layer of foam as best as I could, then turn the can upside down & spray until clear to remove any residue from the nozzle. The recommended time to let it work is 30 - 60 minutes, and you are not to let it dry. I tested just after 30 minutes and I could tell the finish was dissolving so I got to work, scrubbing it off with a stiff nylon brush. I did occasionally get my brush wet to keep it from totally gumming up, but as this was a small piece I was able to do it all without it drying out. I would recommend working in smaller sections if you were working on a larger piece of furniture.
This video shows applying the finish remover, the piece covered, removing the product, what it looks like dried, and after sanding.

Then I simply rinsed everything off with water, pictured here it is soaking wet & still looks orange. What the can recommends is wiping it all off with a cloth, and then wiping again with a damp cloth to remove the product residue. Given what happened next, that is definitely the route I would take next time. What I had not considered was what would happen to the engraved details when I used that much water. As you can see in the video, the grain raised so much that it looked furry in the details - yikes. So definitely be aware of that when using water on wood (the flat areas were fine).

I used a folded piece of sandpaper, a brass brush, and a steel brush to sand down the details as best as I could. (You can find a pack of brushes here.) It was not perfect but considering I was going for that raw look after all, I think it looks fine.

Now is the point where you could continue on and bleach the wood if you wanted to. In my case, the wood tone was very similar to another piece in my home that I really like, so I decided to leave it. To finish it, I plan on sealing with a white or liming wax - which of course I didn’t have on hand so check back for that post.
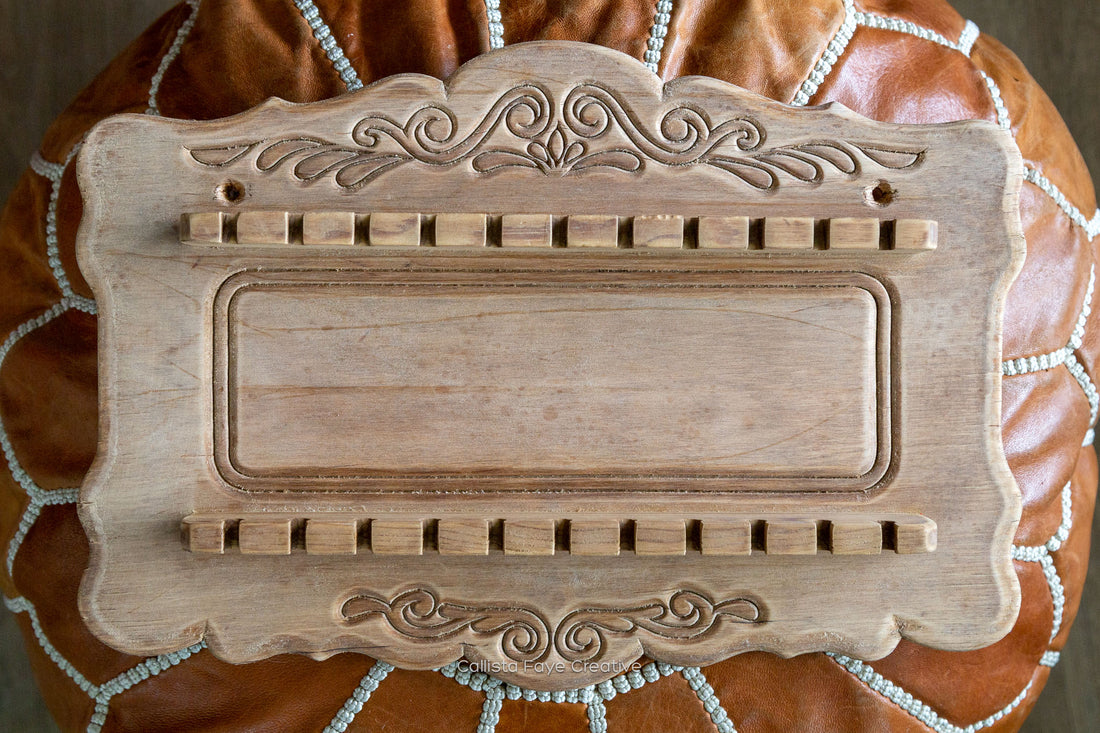
Just a reminder of where it started:


Would I use this product again? Absolutely. I have used other finish removers in the past and would definitely opt for this one again. My only issue is how forcefully it comes out of the can, and that may be due to a defective nozzle or previously dried residue. I will buy another can & report back, but either way if you are aware of that then it is a non-issue if you are prepared in an open space. It worked great, removed the finish well, and I only had to do one application. It is an awesome choice for an effective, easy, and safe finish remover or stripper.

People like using the Easy Off oven cleaner as a stripping method because it is easy, and because of the nice rustic, raw finish it gives the furniture. The trendy bleached, rustic look happens because of the combination of the oven cleaner chemicals & the amount of water used to wash it off. Regular stripper will not bleach the wood like oven cleaner, but that can be duplicated safely with other methods. Raising the grain happens because of the amount of water used when hosing the product off with water, which can also be duplicated. In this case I will definitely choose more work up front to ensure long-term safety. I would encourage you to do your own research & come to your own conclusions if you had wanted to try this too. There are many alternative products out there that have been tested & formulated for this exact purpose. For myself, I will choose to use furniture stripping products like this.
Check back soon for my updated post on sealing this spoon rack with liming wax!
Related Posts
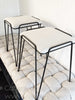
5 Minute 5 Dollar Makeover - Thrifted Stools
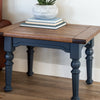
Trying Out a NEW (to me) Paint: ONE by Melange Paints
